Although the blocks were easy to piece, all the seams had to be pressed open. It was important to label them by color in order to get them placed correctly. I prefer to piece the blocks using an assembly line method with chain stitching.
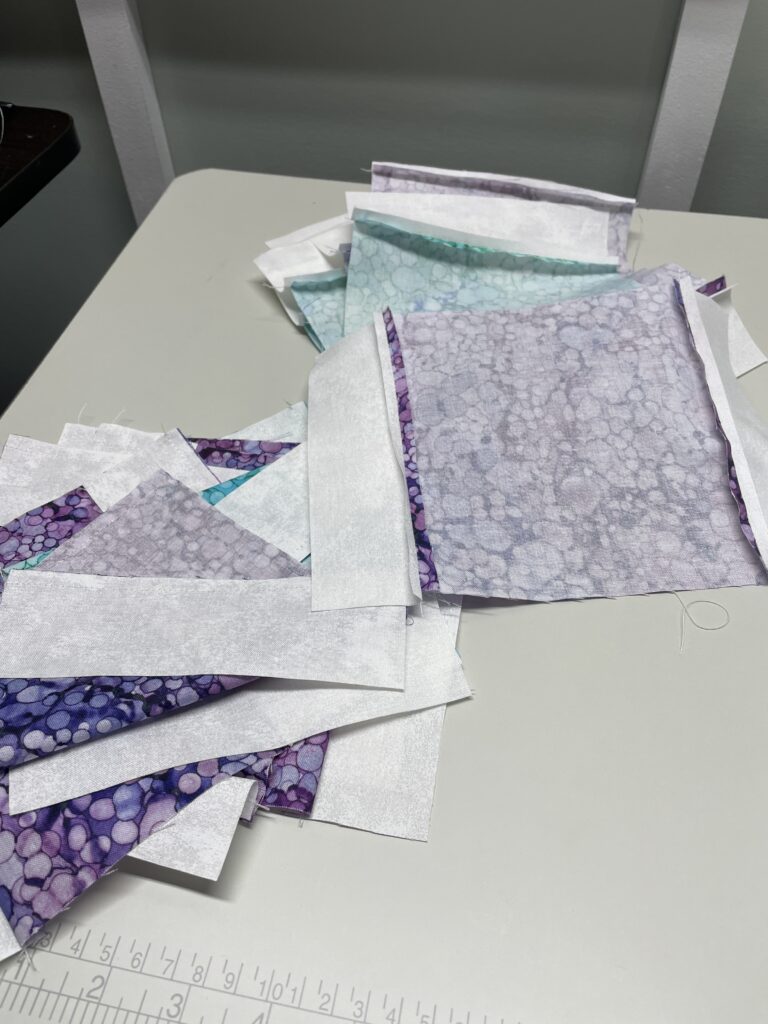
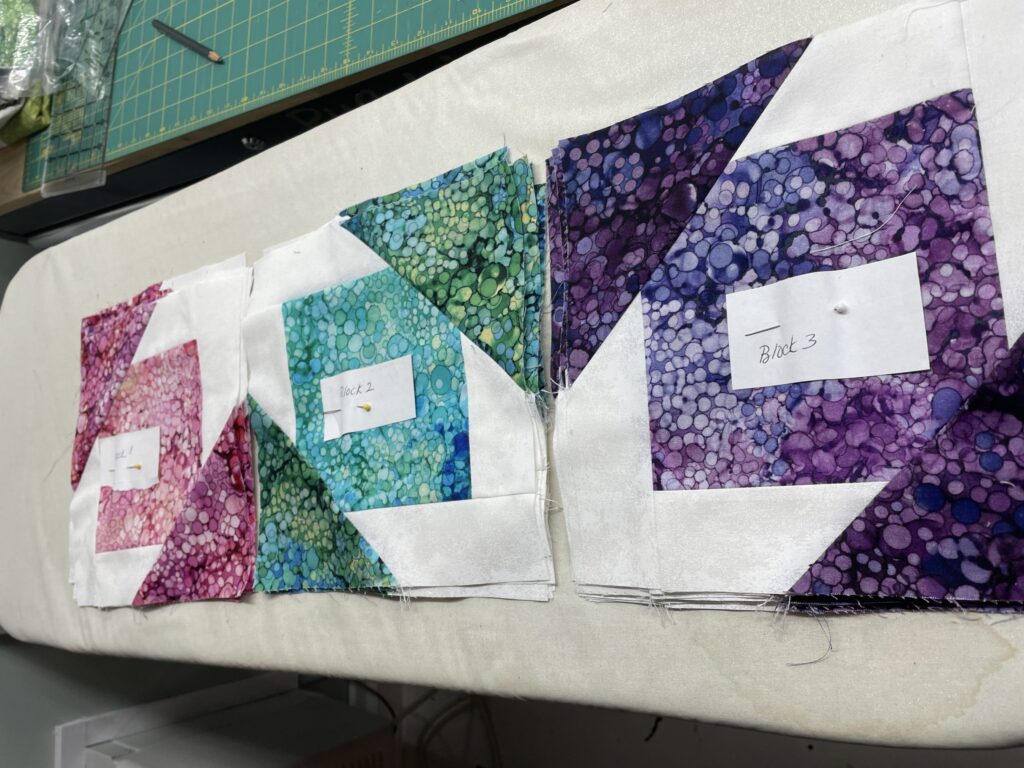
Labeling each of the different blocks made the layout easy. Just remember to orient the blocks in the correct direction. As each row was assembled I also added the row number at the left hand side so they didn’t get inadvertently flipped while sewing the rows together.
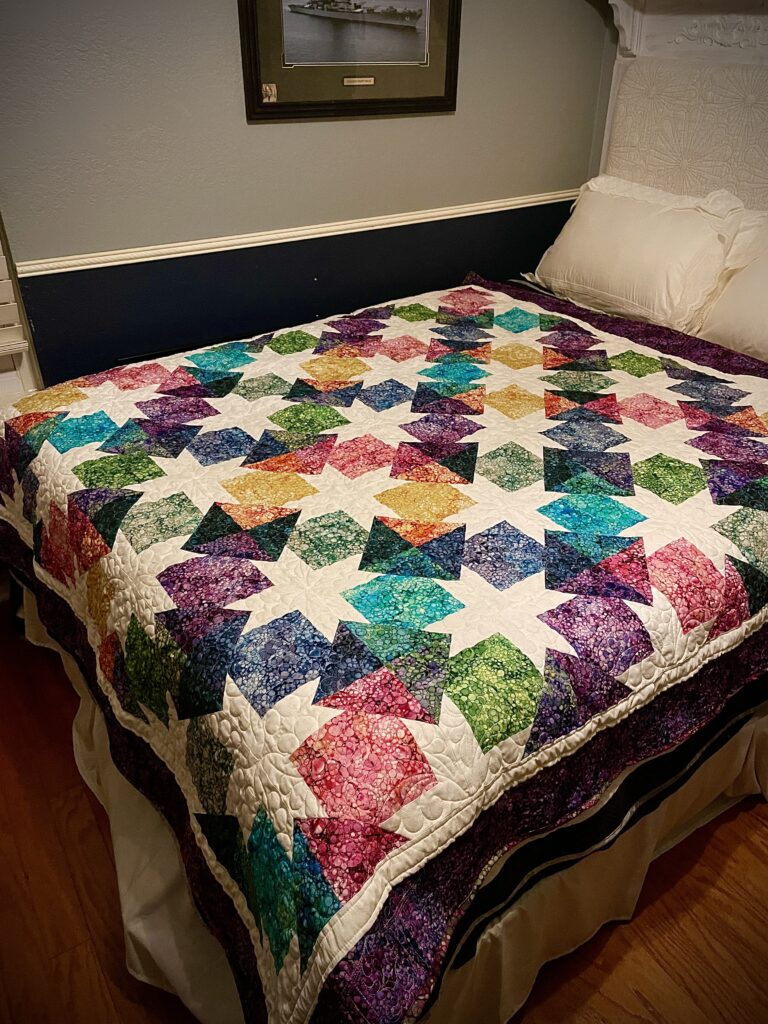
I added a 1 1/2 inch white border and a 4 1/2 inch purple border. I purchased the additional fabric for each of these. For the backing I used a coordinated fabric from the collection with shades of magenta & purple mixed with light & dark greens.
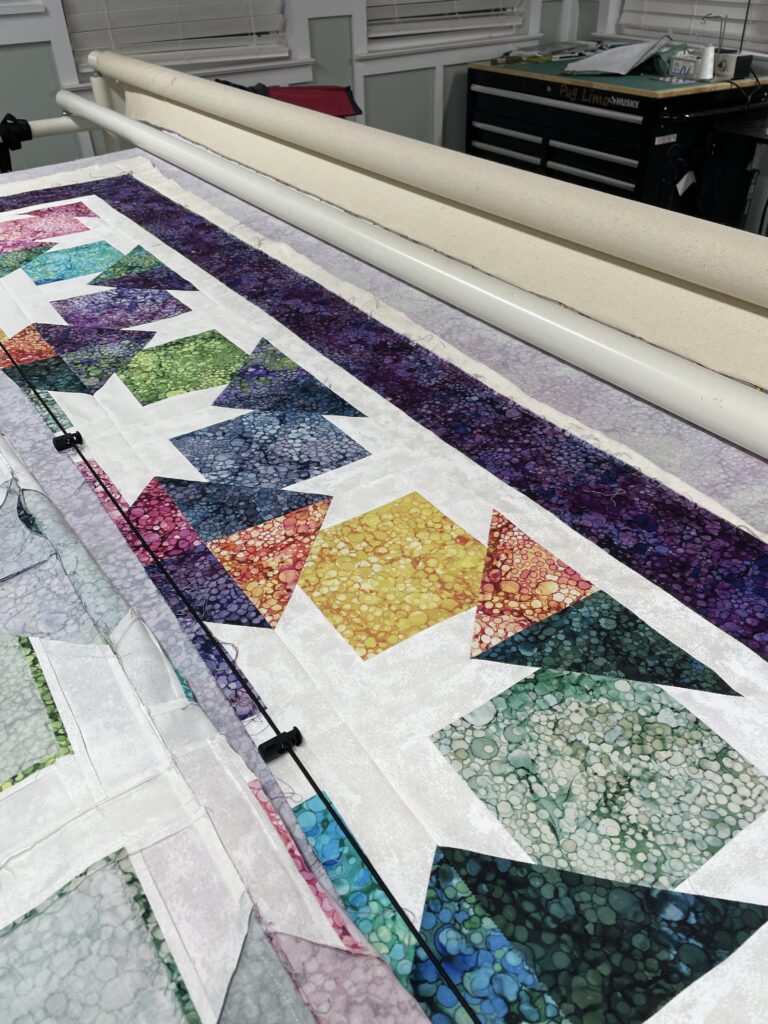
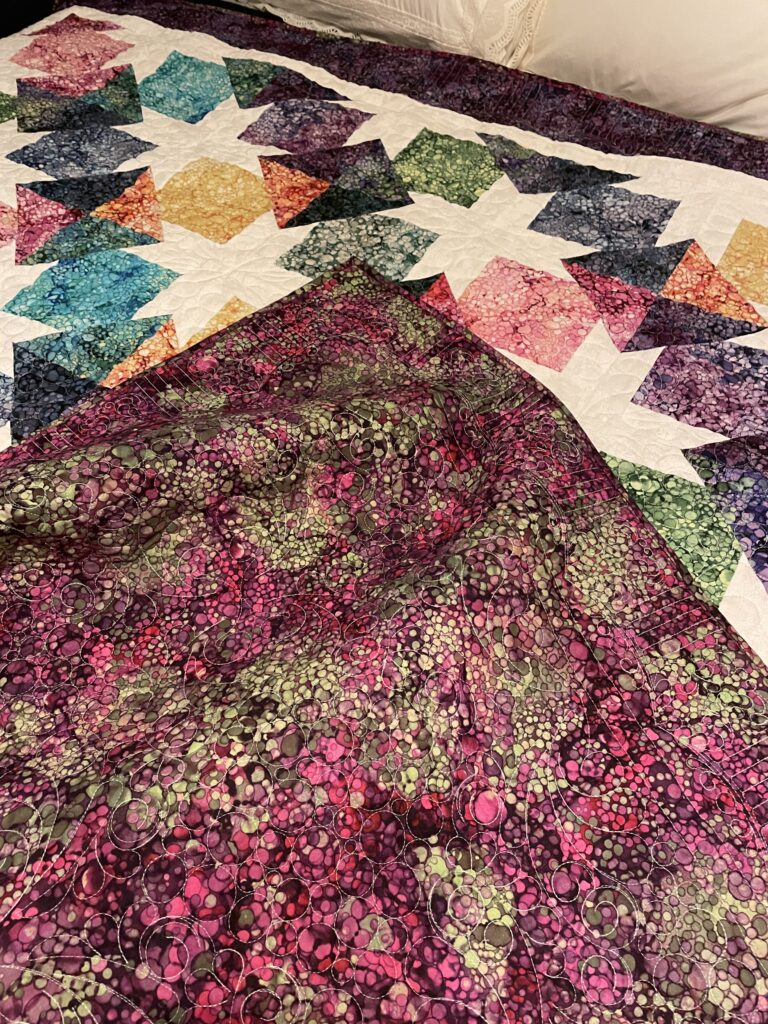
The backing came in the 108″ width so I used the extra for the binding.
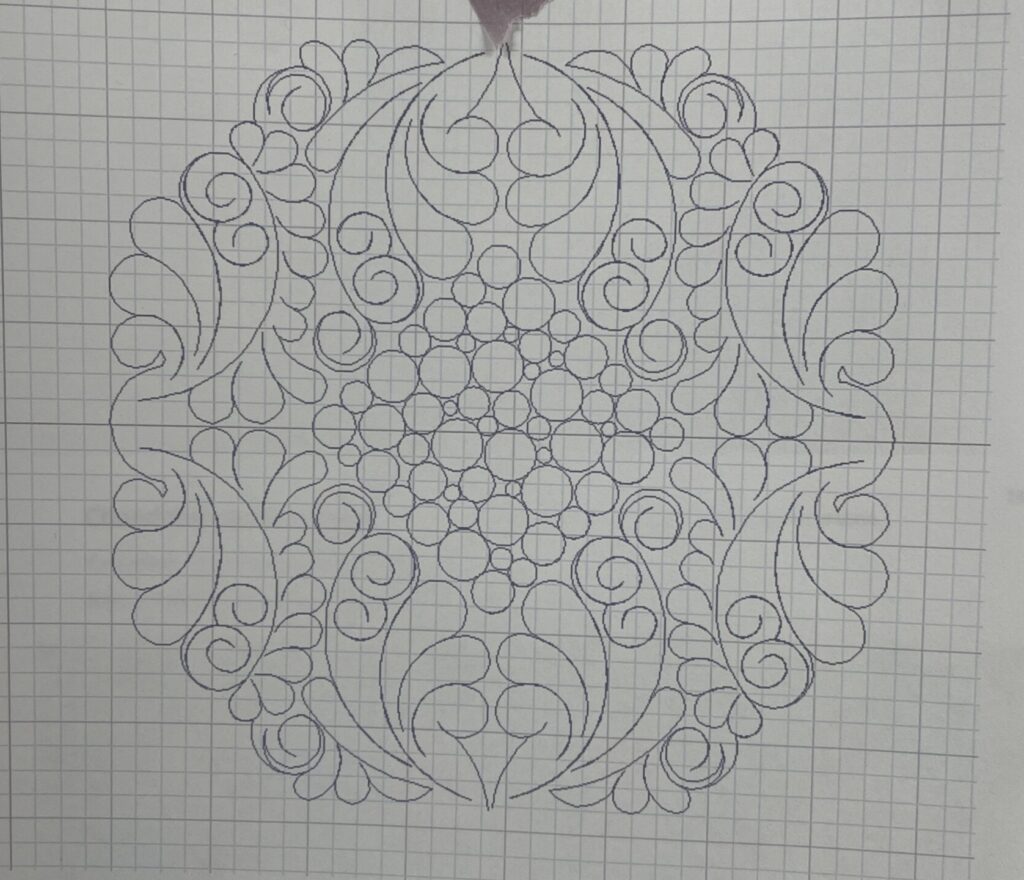
For the main blocks I used a trapezoid that was modified slightly to fit in the space and bubbles for the squares and triangles.
The border was a pattern called “Curling Feathers”. Just as a note most of my patterns come from Wasatch Quilting.
Finished Quilt
